On Windows XP, Vista, Windows Server 2003 and Windows Server 2008, the graphical interface is not available. The headless installation mode is therefore mandatory on these platforms.
The installer to use for these platforms is the Windows 32-bit legacy installer.
On Windows Server 2003, if the installer executable fails to start, check the following: right-click the file > Properties > General tab > Security section at the bottom of the window > click Unblock if Windows has blocked the executable > Apply.
Installation
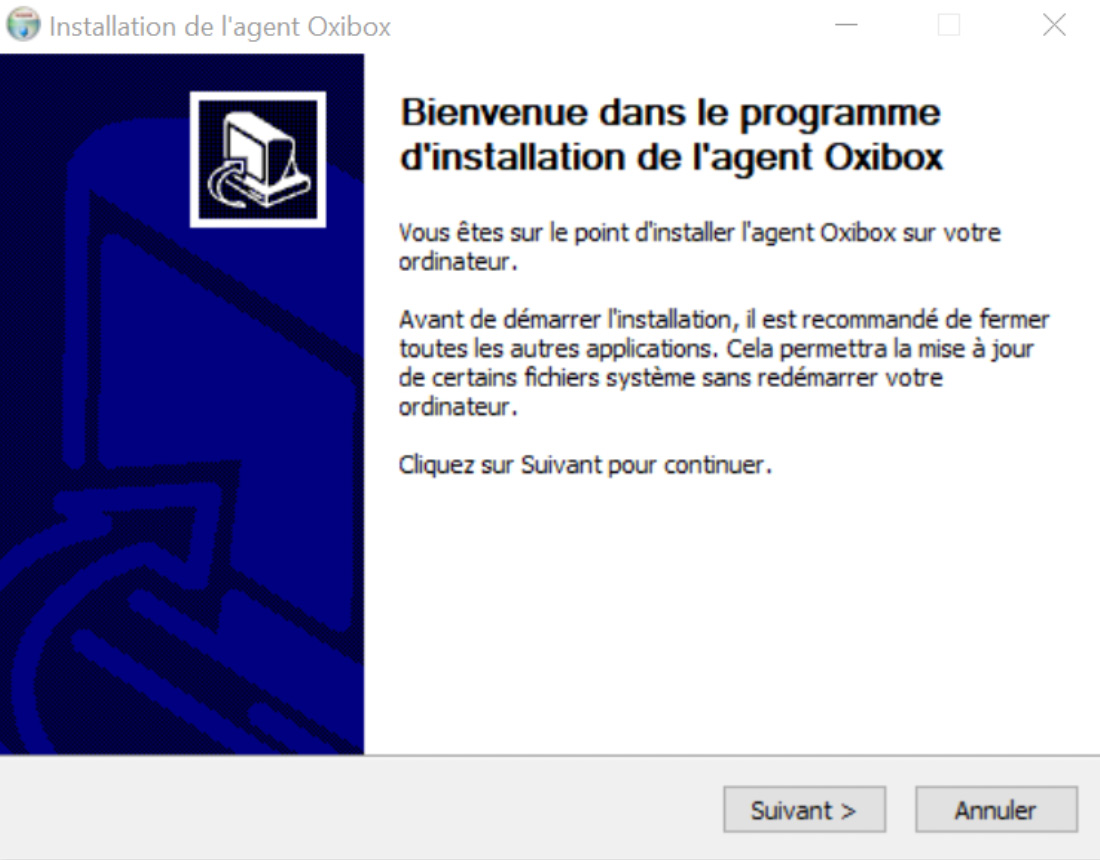
The installation is done in the usual way: follow the installation steps by clicking “Suivant” (Next).
You now need to register the machine with the Oxibox services. Do this with the command-line utility oxibackup_ws_interaction.exe.
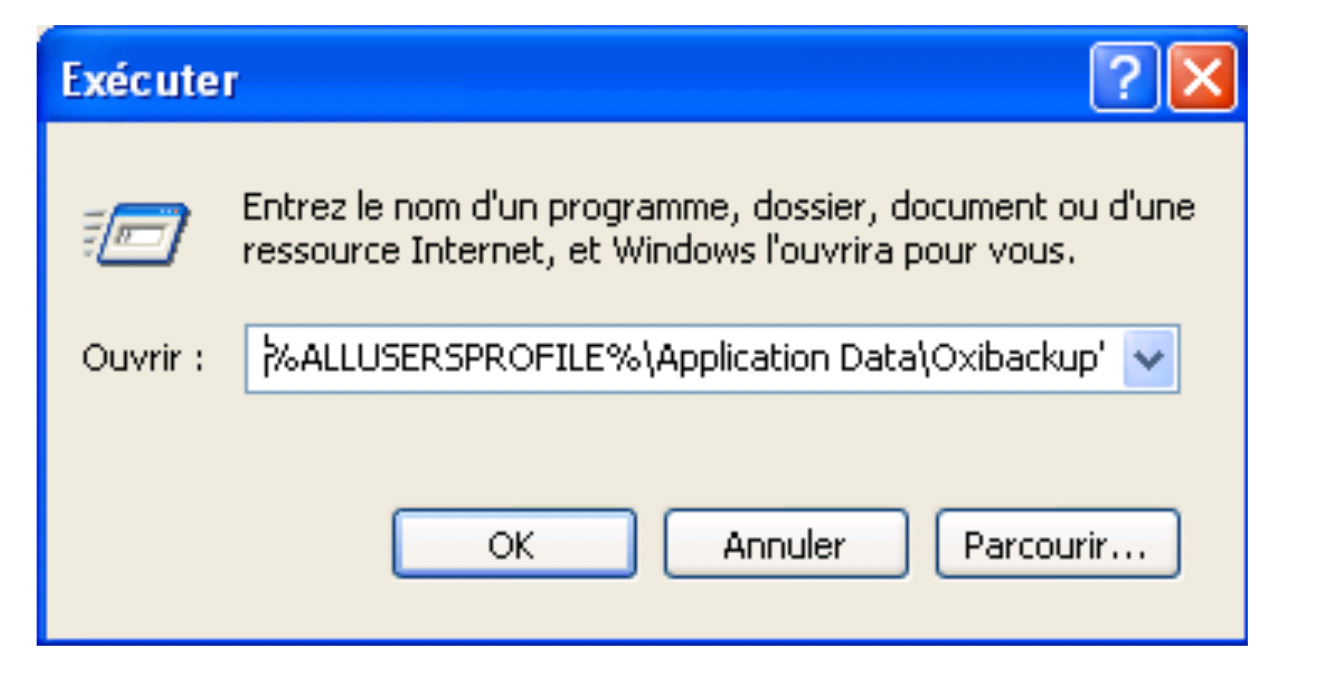
To do so, press Windows+R or go to Start > Run and enter
%ALLUSERSPROFILE%\Application Data\Oxibackup\oxibackup_ws_interaction.exethen click “OK”.
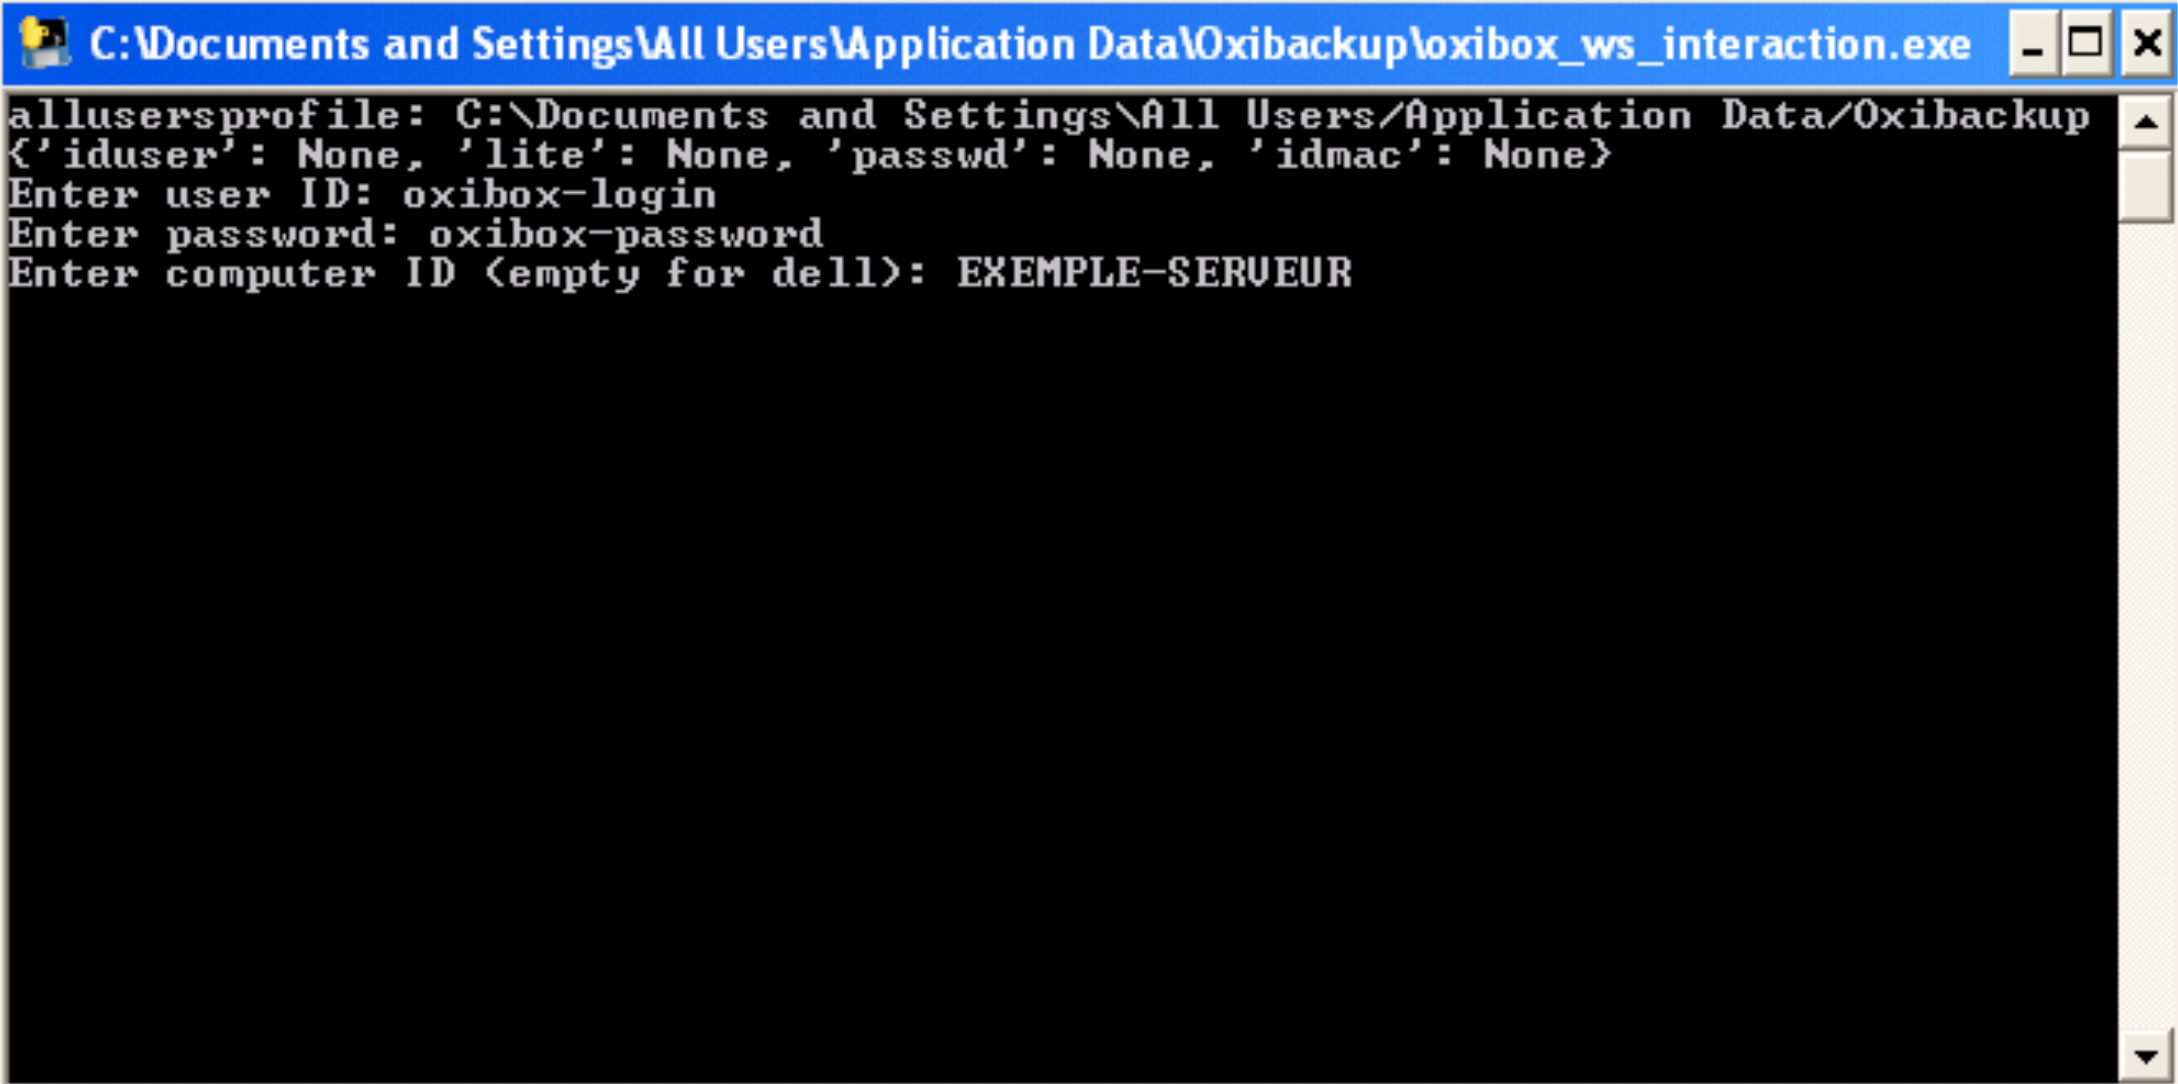
In the window that appears, enter:
- The Oxibox account username
- The Oxibox account password
- An ID of your choice for the machine (by default, its host name)
The machine is now linked to your Oxibox account, and you can manage it from the Oxibox console (admin.oxibox.com).
Update
The update is done in the usual way: download the latest installer and follow the installation steps by clicking “Suivant” (Next).
You do not need to link the machine to your Oxibox account again if this was already done during a previous installation and the agent has not been uninstalled.
Uninstallation
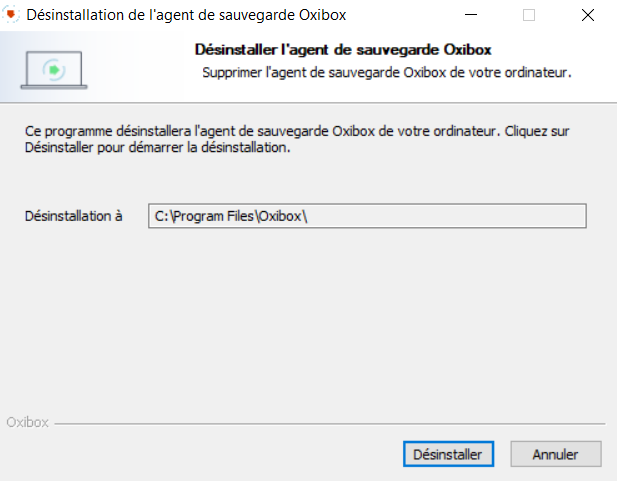
Use the Windows control panel to uninstall the Oxibox backup agent as you would any other application.
If you reinstall the Oxibox agent later, you will need to link the machine to your Oxibox account again.