
Download the executable from the Oxibox console, “New Installation” button.
Make sure SSH is enabled on your NAS (in the QNAP control panel) while you carry out the operations described below. You can disable SSH afterwards if you wish. For security reasons, we recommend disabling the SSH service if you do not use it.
Once the QNAP installer is downloaded, extract the .zip archive locally. Note also that the application cannot be run from a network share.
Installation
Enter the NAS IP address and credentials.
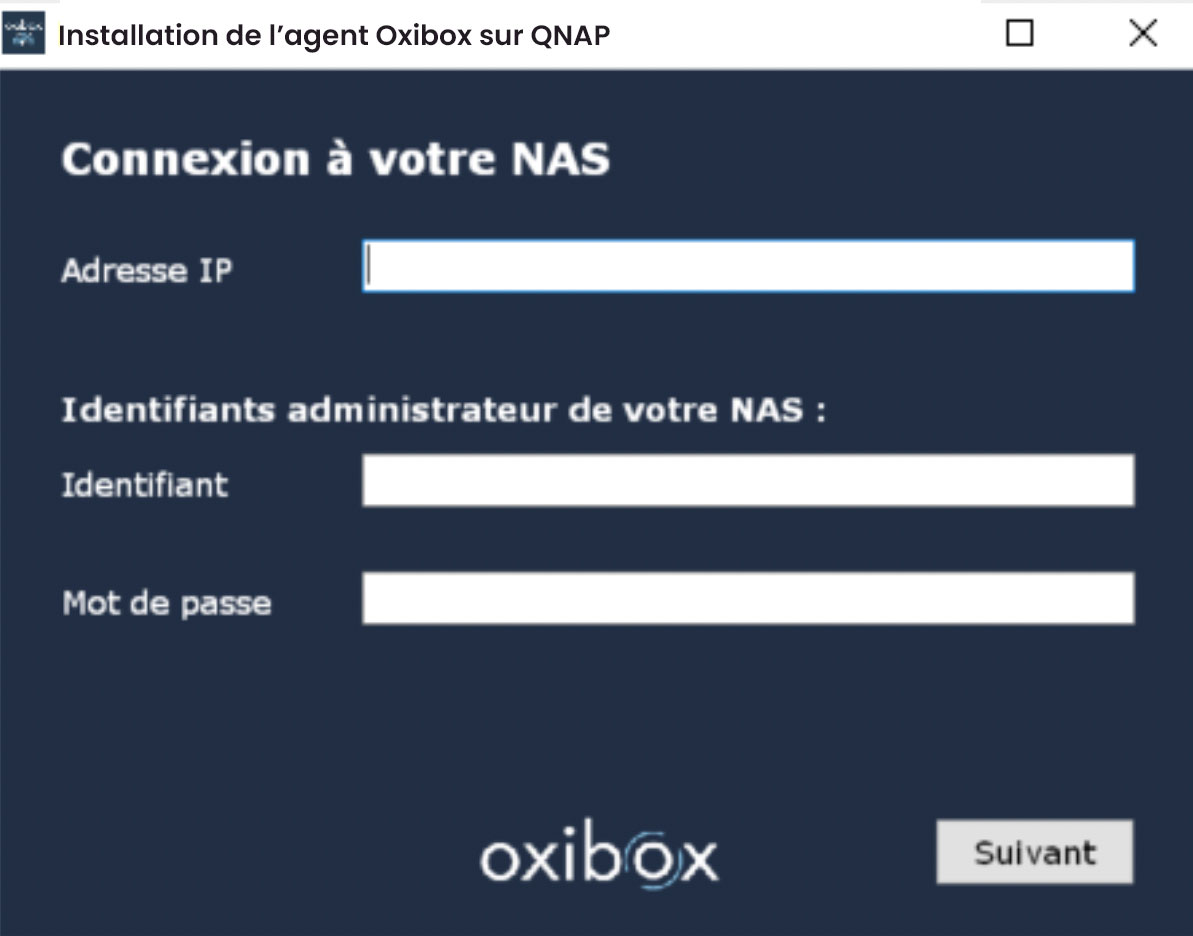
Then enter the credentials of your Oxibox account.
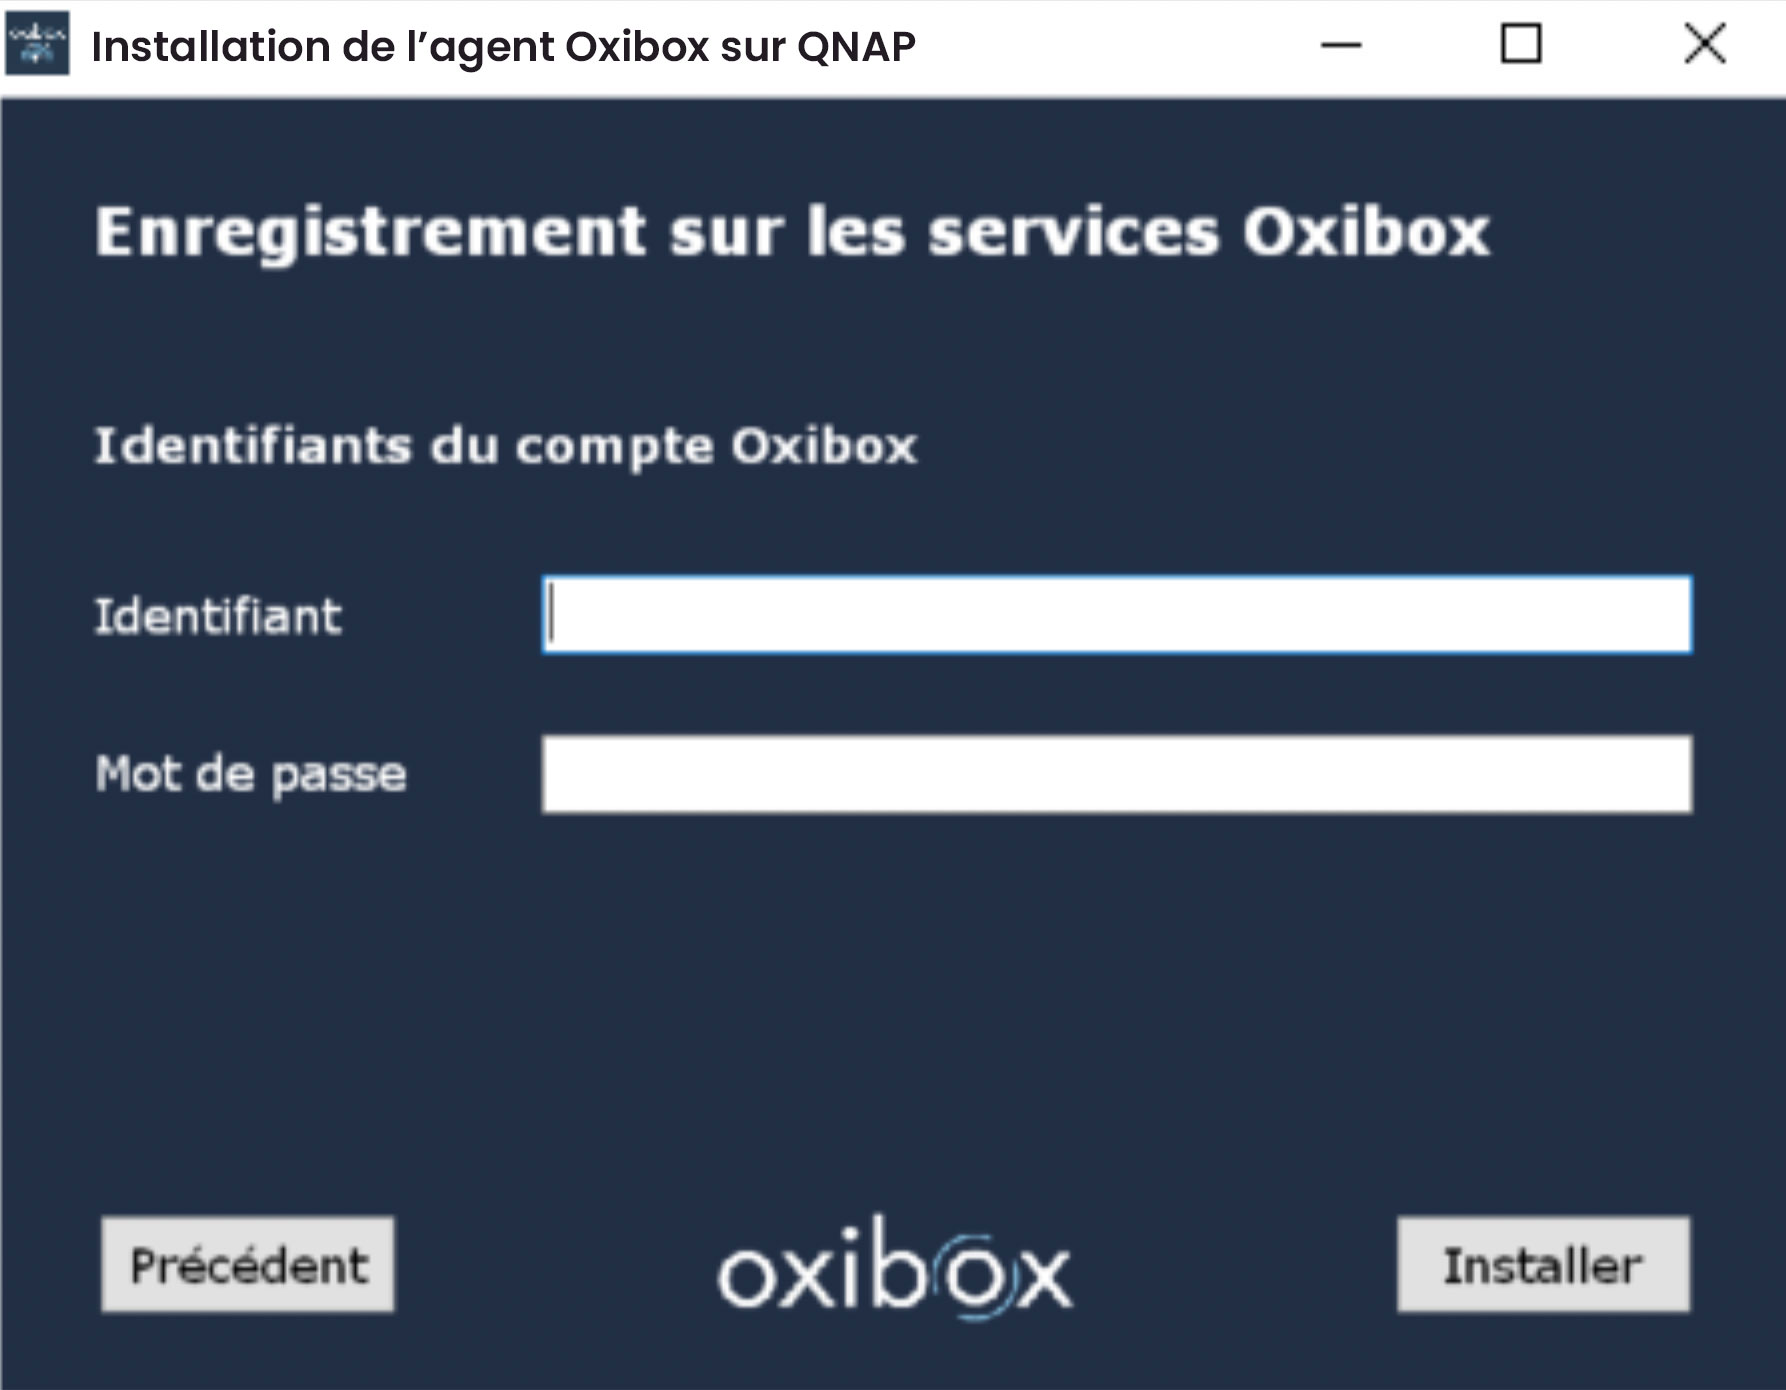
Click Install to start the installation and registration of your NAS. A confirmation screen tells you that the agent is installed.
You can now disable the SSH service if you wish.
Update
Enter the NAS IP address and credentials.
Then enter the credentials of your Oxibox account.
Click Install to go to the next step. A screen shows the installed agent version and whether an update is available. If it is, click the Update button (“Mettre à jour” in the French installer) and wait for the process to finish.
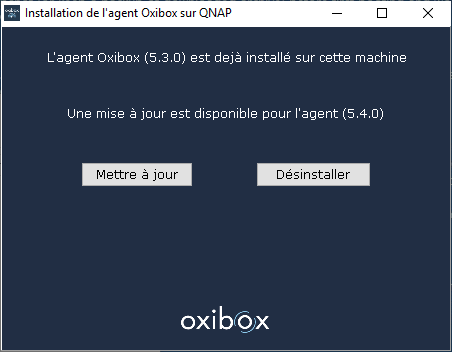
When the update is installed, you can disable the SSH service if you wish.
Uninstallation
Enter the NAS IP address and credentials.
Then enter the credentials of your Oxibox account.
Click Install to go to the next step. A screen tells you that the agent is already installed, and you can click the Uninstall button (“Désinstaller” in the French installer).
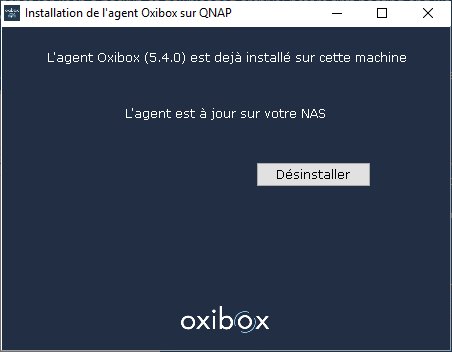
When the agent is uninstalled, you can disable the SSH service if you wish.