
For versions of Windows older than Windows 7/Windows Server 2008 R2, see the section Windows Vista/Server 2008 and earlier.
Download the executable for your system from the section Backup of physical infrastructures or from the Oxibox console, “New Installation” button.
Standard installation
Installation
Follow the installation steps by clicking “Suivant” (Next).
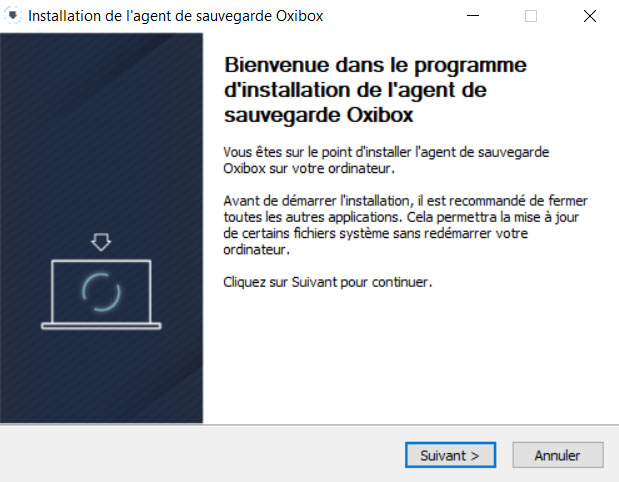
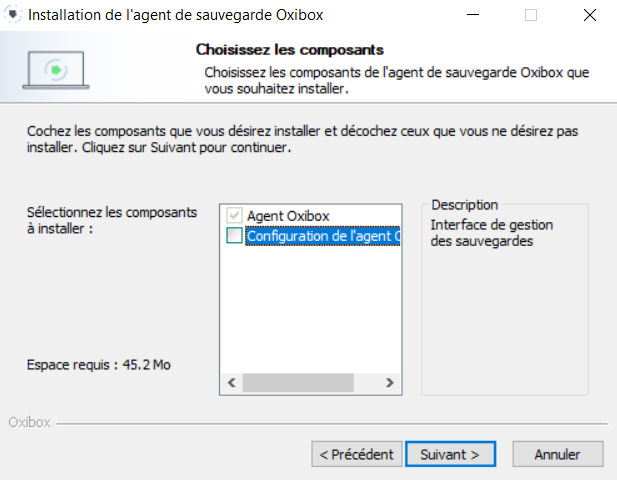
The “Configuration de l’agent Oxibox” (Oxibox agent configuration) option is ticked by default. It provides a graphical interface to manage the solution locally.
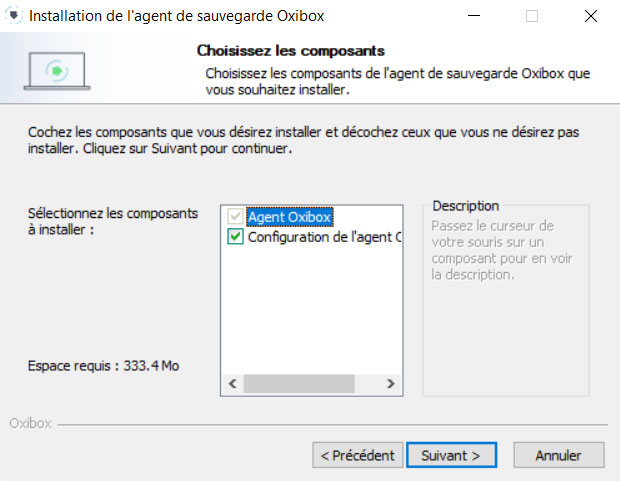
Wait while the installation runs.
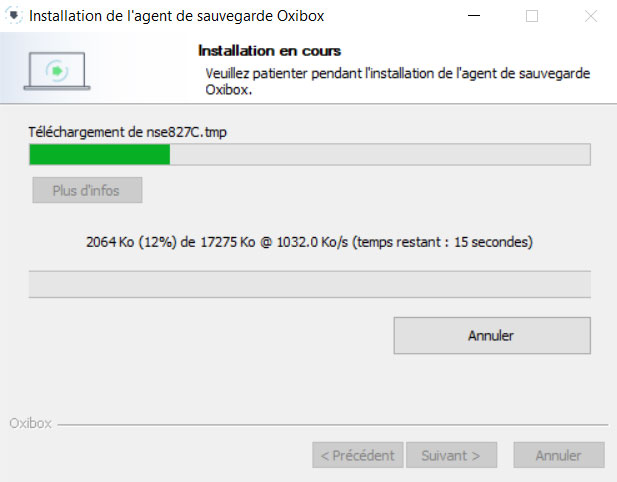
The installation is complete. Follow the steps to configure your backup described in the section Backup agent configuration.
Update
After downloading the latest version of the installer, simply follow the installation steps, with no prior action. You do not need to link the machine to your Oxibox account again if this was already done during a previous installation and the agent has not been uninstalled.
You do not need to restart the machine or any services either. Your backup configuration is also kept after the update.
Uninstallation
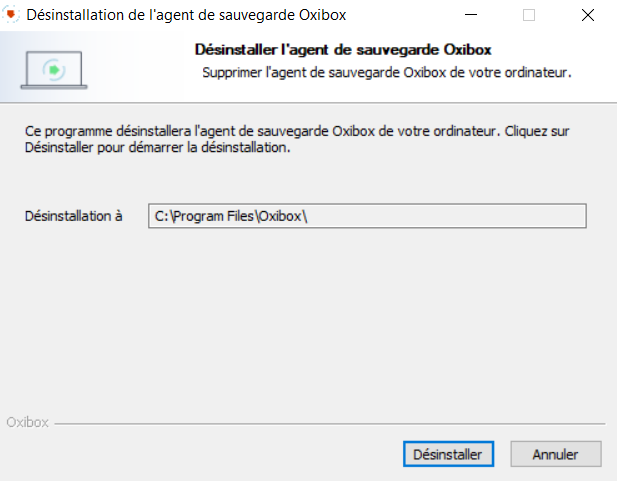
The Oxibox agent is uninstalled in the standard way:
Start menu > Settings > Apps > Left-click > Uninstall.
Headless installation
Headless installation lets you deploy the solution without a graphical interface.
This type of deployment can be useful in the following cases:
- Lightweight installation (on a server, for example).
- Installation on Windows versions that are not compatible.
Installation
For this type of installation, untick “Configuration de l’agent Oxibox” (Oxibox agent configuration)
You need to register the machine with the Oxibox services if this has not been done yet.
To do so, enter the command below in a Windows command prompt (CMD):
%programdata%\Oxibackup\oxibox-registration.exeand follow the instructions. This step requires your Oxibox login credentials.
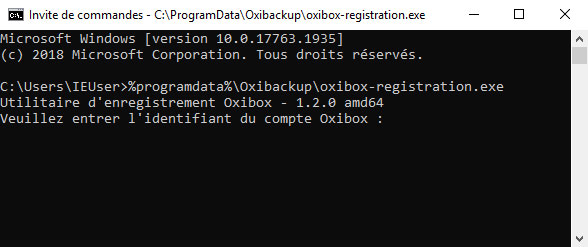
The machine is now linked to your Oxibox account, and you can configure it from the Oxibox console (admin.oxibox.com).
Update
After downloading the latest version of the installer, simply follow the installation steps, with no prior action. You do not need to link the machine to your Oxibox account again if this was already done during a previous installation and the agent has not been uninstalled.
You do not need to restart the machine or any services either. Your backup configuration is also kept after the update.
Uninstallation
The Oxibox agent is uninstalled in the standard way:
Start menu > Settings > Apps > Left-click > Uninstall.
Unattended installation
You can install and configure the agent on a fleet of Windows machines without having to do the work manually on each one. There are several levels of installation: Installation only, Installation and registration, Installation, registration and configuration.
Installation only
You can use any Windows installer, with the matching installation commands.
MSI installer
The method below runs from the command line with no user interaction; you can also do it through a GPO. So as not to disturb the user, we recommend deploying in silent mode with the /quiet option.
msiexec /i oxibox_installeur.msi /quietReplace oxibox_installeur.msi with the name of the installer you downloaded beforehand.
This command simply installs or updates the solution. If no installation had been completed before, you will need to go through the registration and configuration steps.
Other installers
The method below runs from the command line with no user interaction. So as not to disturb the user, we recommend deploying in silent mode with the /S option.
oxibox_installeur.exe /SReplace oxibox_installeur.exe with the name of the installer you downloaded beforehand. This command simply installs or updates the solution. If no installation had been completed before, you will need to go through the registration steps and Backup agent configuration.
Installation and registration
You can use any Windows installer, with the matching installation commands.
MSI installer
The method below runs from the command line with no user interaction; you can also do it through a GPO. So as not to disturb the user, we recommend deploying in silent mode with the /quiet option.
msiexec /i oxibox_installeur.msi /quiet WRAPPED_ARGUMENTS="--login='mon-identifiant-oxibox' --password='mon-mot-de-passe-oxibox'"Replace oxibox_installeur.msi with the name of the installer you downloaded beforehand. Replace mon-identifiant-oxibox and mon-mot-de-passe-oxibox with your Oxibox credentials.
By default, the installer uses the host name as the Oxibox machine name. Add the argument --machine='nom-de-machine' to customise the machine name.
The previous command installs or updates the solution. If no installation had been completed before, you will need to go through the Backup agent configuration step.
Other installers
The method below runs from the command line with no user interaction. So as not to disturb the user, we recommend deploying in silent mode with the /S option.
oxibox_installeur.exe /S --login='mon-identifiant-oxibox' --password='mon-mot-de-passe-oxibox'Replace oxibox_installeur.exe with the name of the installer you downloaded beforehand. Replace mon-identifiant-oxibox and mon-mot-de-passe-oxibox with your Oxibox credentials.
By default, the installer uses the host name as the Oxibox machine name. Add the argument --machine='nom-de-machine' to customise the machine name.
The previous command installs or updates the solution. If no installation had been completed before, you will need to go through the Backup agent configuration step.
Installation, registration and configuration
This method installs the Oxibox backup agent on machines, registers them with the Oxibox services and also applies a predefined backup configuration.
Ask Oxibox support for the full documentation (open a ticket by e-mail to support@oxibox.com) to learn how to create a generic backup configuration file that can be used to deploy and configure the backup agent on a fleet.